
Introduction to Class Settings
There are several different options for settings when using our Infinite Campus integration. See the different options you have below.

Lock Rostering
When using our Infinite Campus integration, students will be automatically rostered to your class. Due to the integration, you are not able to manually lock rostering and you may disregard this setting.

Archive Classes 
|
Archiving a class saves all data and assignments into a past term. The class will no longer be visible in your current view. Click “archive” next to a class name to archive that class. |
 |
|
After selecting a class to archive, choose a term: either select an existing term or create a new one by selecting "Make new term to store class" and entering a name. |
 |
|
You will see the option to “Create a new class with the same students.” Due to the Infinite Campus integration, classes are automatically rostered as students open assignments, so you may disregard this setting. |
 |
|
Once you have made your selections, click “Archive Now.” |
 |
View Past Terms
|
Click on “View Past Terms/Unarchive Classes” below your classes. |
 |
| To view data from past terms, first select “View Past Terms” from the top drop-down menu, then choose the term you want to see data for, and finally click “View.” | 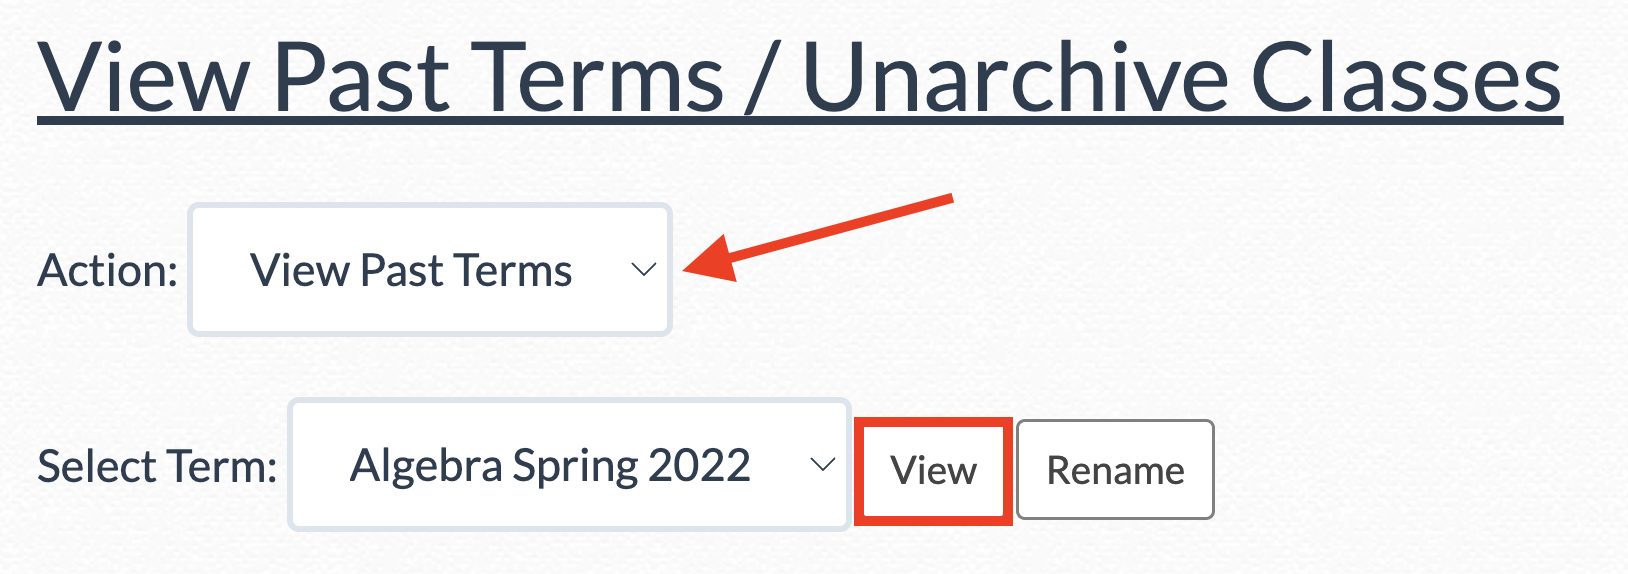 |
| From there, you can view the assignments and data from the archived term. To return to current content, click “Back to Current Term.” |  |
Unarchive Classes
|
Click on “View Past Terms/Unarchive Classes” below your classes. |
|
|
To unarchive a class, select “Unarchive Class" from the first drop-down menu. |
 |
| Then, choose the correct term and class you would like to unarchive. | 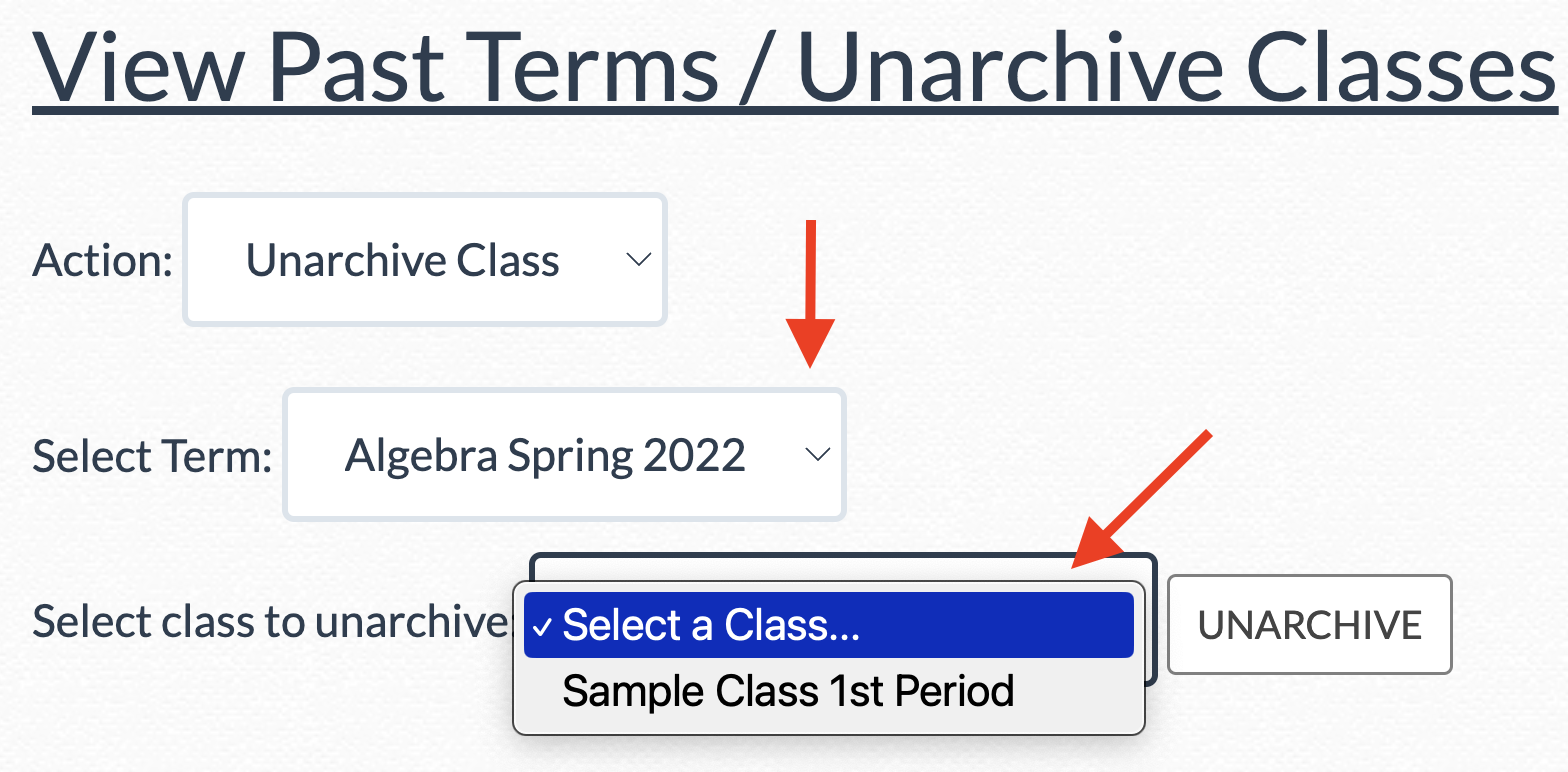 |
| Finally, click “UNARCHIVE.” You should now see your class name and data return under the “Manage Students and Classes” page. | 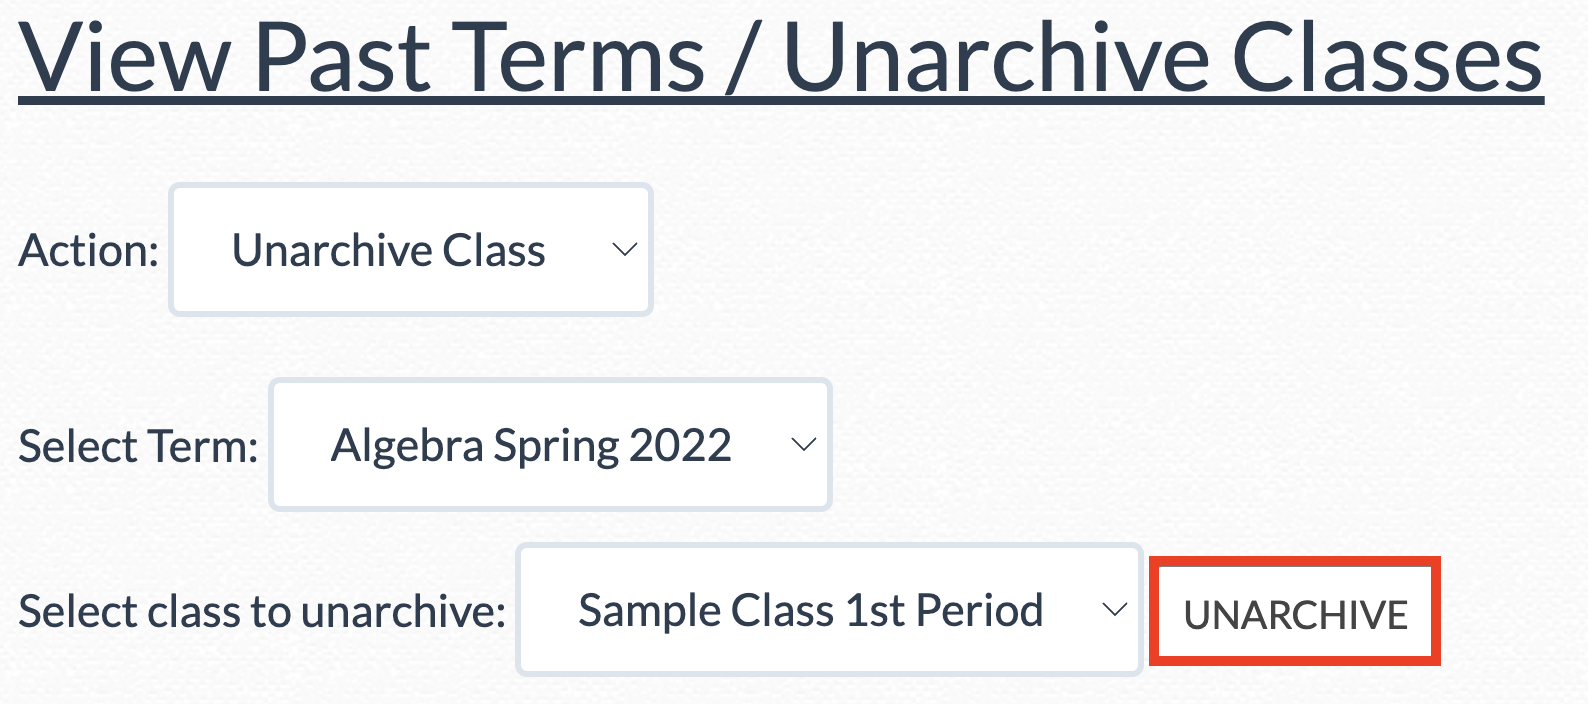 |
Disable the Calculator
You can disable the DeltaMath calculator for specific classes by clicking the  icon underneath your classes. This action only needs to be done once. icon underneath your classes. This action only needs to be done once. |
|
A icon should appear in a new column for every class in the table above. Click on the icon to enable or disable the student calculator. A grayed-out  icon indicates the calculator is disabled, while a black icon indicates it is enabled. icon indicates the calculator is disabled, while a black icon indicates it is enabled. |
|


| Note: This can be done on a class-by-class basis, not for individual assignments. Otherwise, a student could simply visit another assignment to have calculator access. For instance, if you only want to turn off the calculator for tests, you should toggle it off at the class level before each test. After the test, you would toggle it back on. |
Manage Coteachers INTEGRAL
Coteachers have equal functionality to the main classroom teacher including, but not limited to, updating student information, deleting assignments, and viewing or adjusting student data.
|
To add a coteacher using our Infinite Campus integration, first ensure that the coteacher is listed as a teacher in the Infinite Campus class.
Then, the coteacher will need to launch into a DeltaMath assignment from Infinite Campus to create the corresponding DeltaMath class in their account. For more information on this step, click here. |
|
| Once the coteacher has launched into a DeltaMath assignment from Infinite Campus, they will see the Infinite Campus course listed as a class within their DeltaMath account and be recognized as a coteacher. |  |
| Click “manage” to see which teachers are currently listed as coteachers for the Infinite Campus course. |
|
| You can remove yourself from a class by clicking the “remove self” button, or you can remove a coteacher by clicking the "remove" button next to their name. |
|


- lock
- disable
- calculator
- archive
- unarchive
- coteacher
- unlock
- past term
Was this article helpful?